Skip to main contentPrerequisites
Open VS Code in a repository where you’re comfortable making changes. Once you’ve installed the Graphite VS Code extension, there will be a Graphite icon on the far left of VS Code.
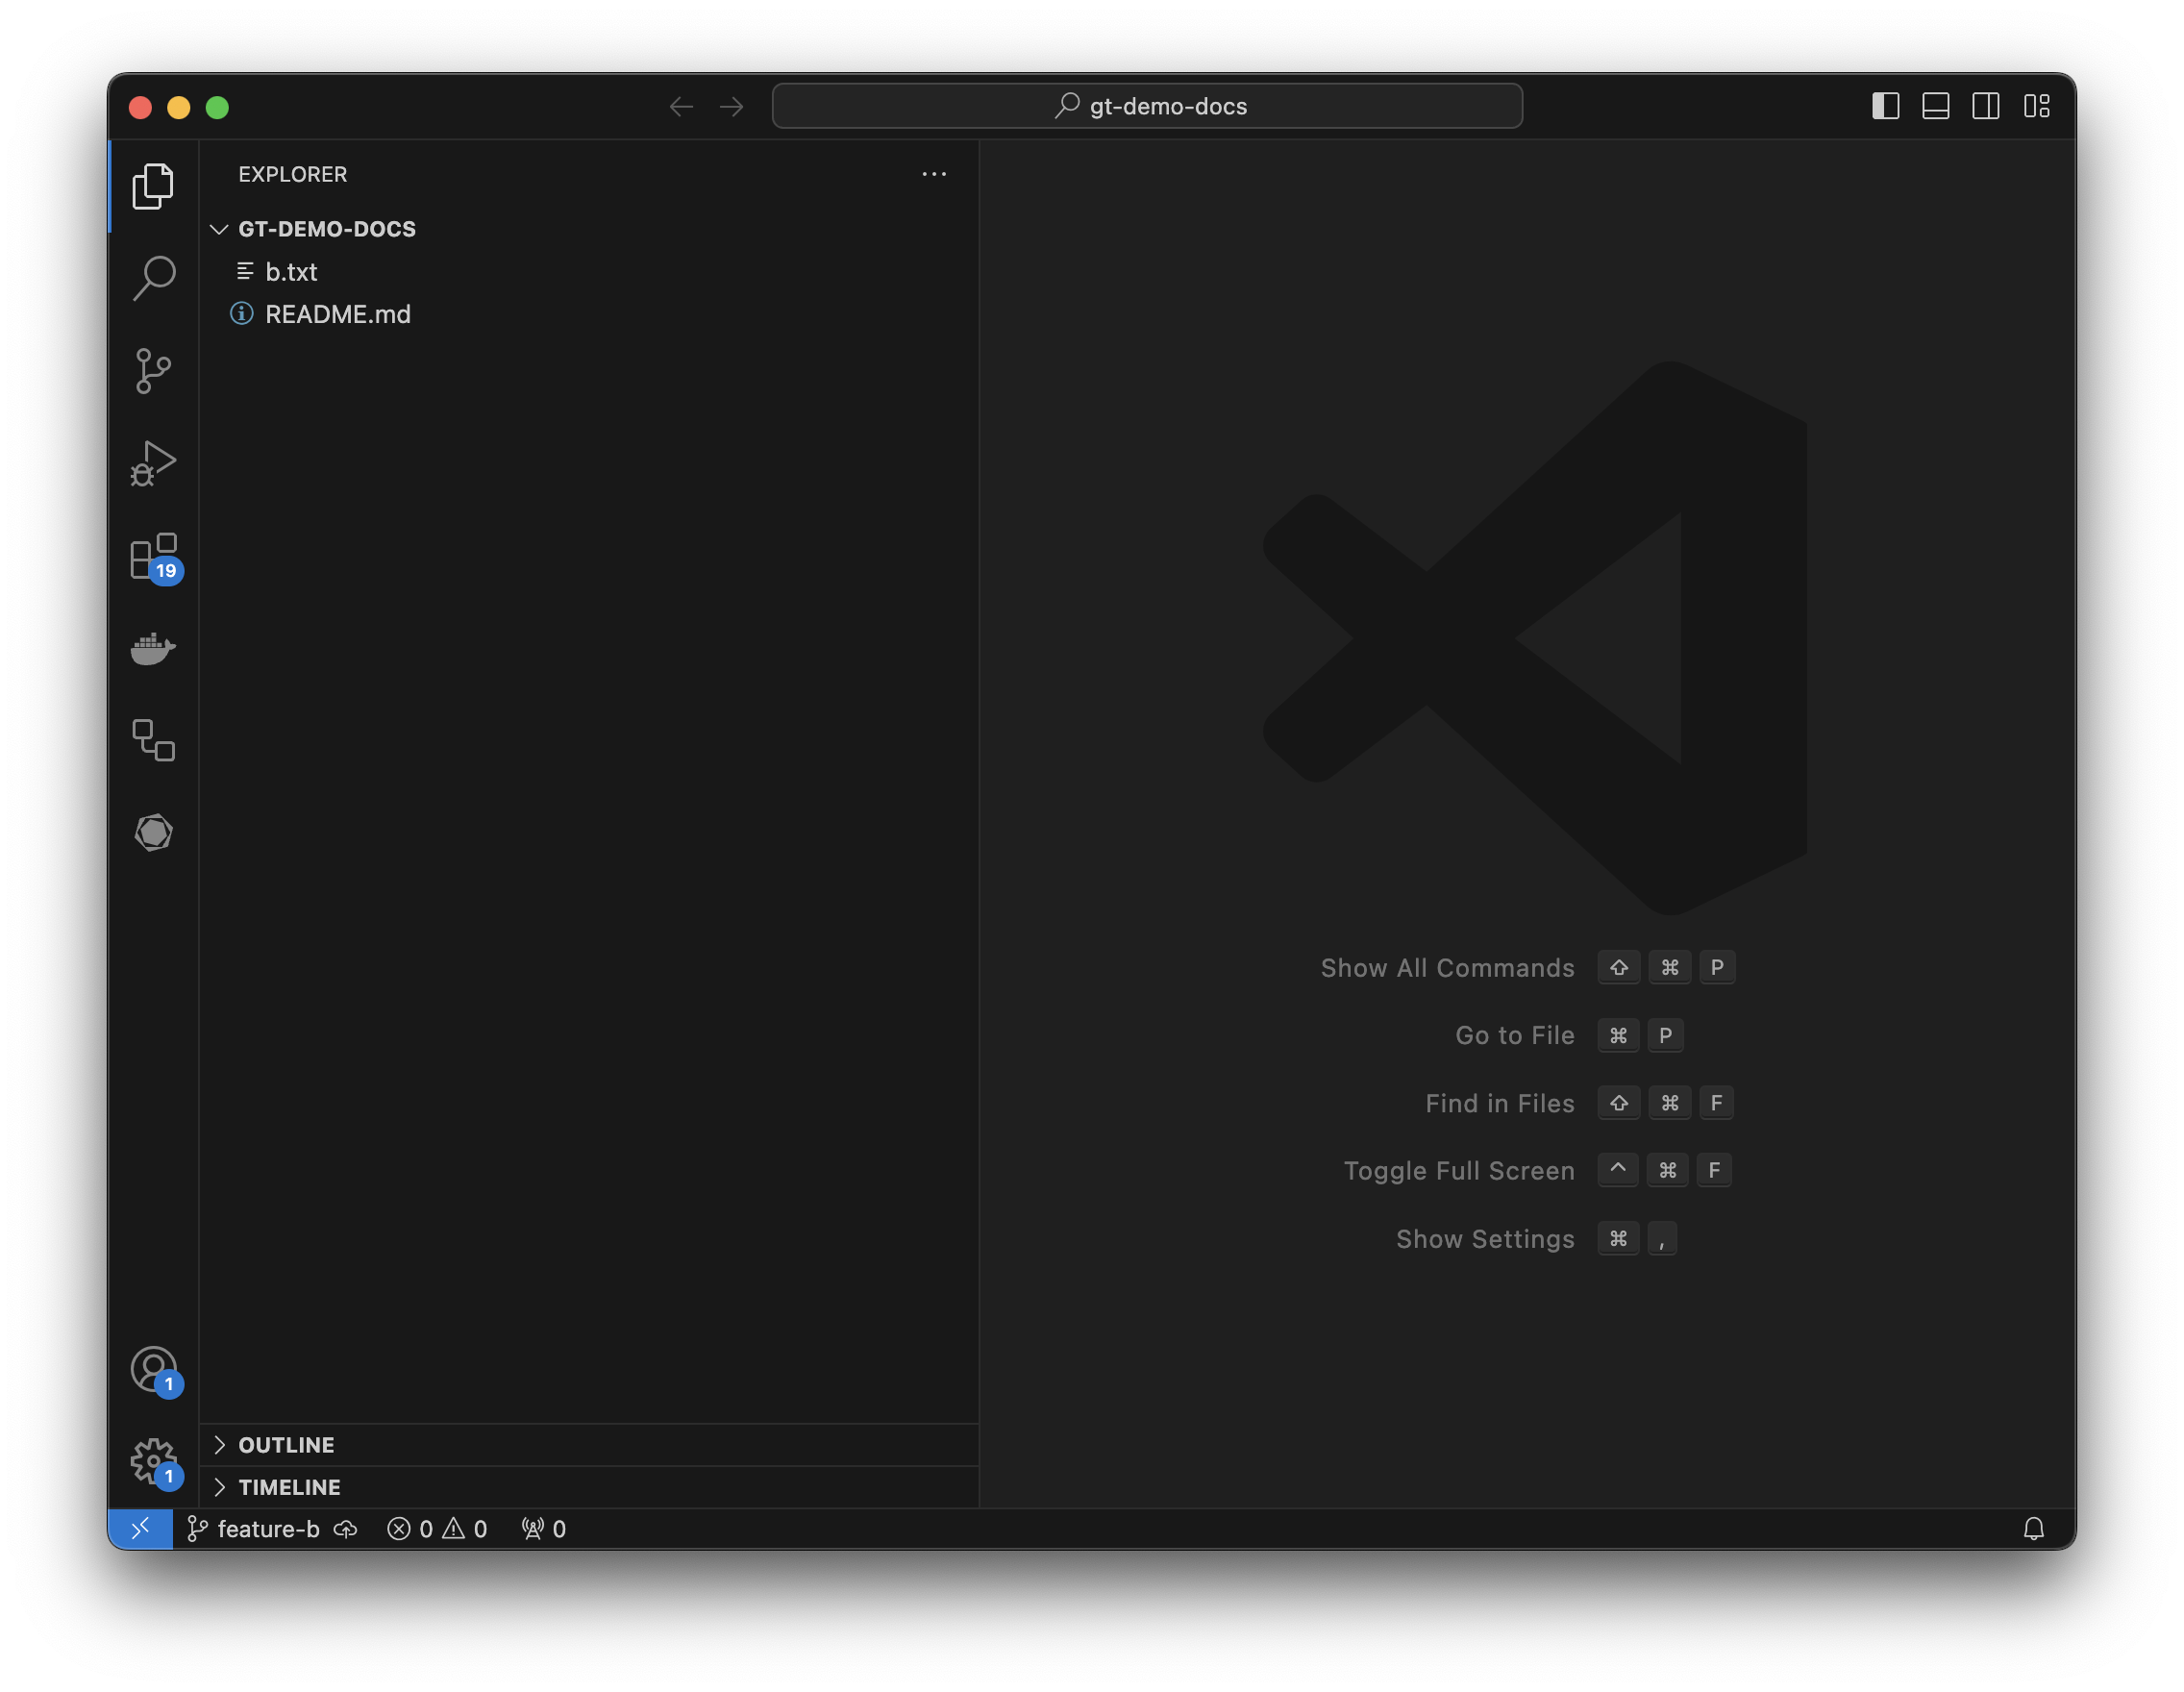 When you click the Graphite icon in the left rail, you’ll be asked to configure Graphite if you never have before. Follow the prompts in the extension to set it up.
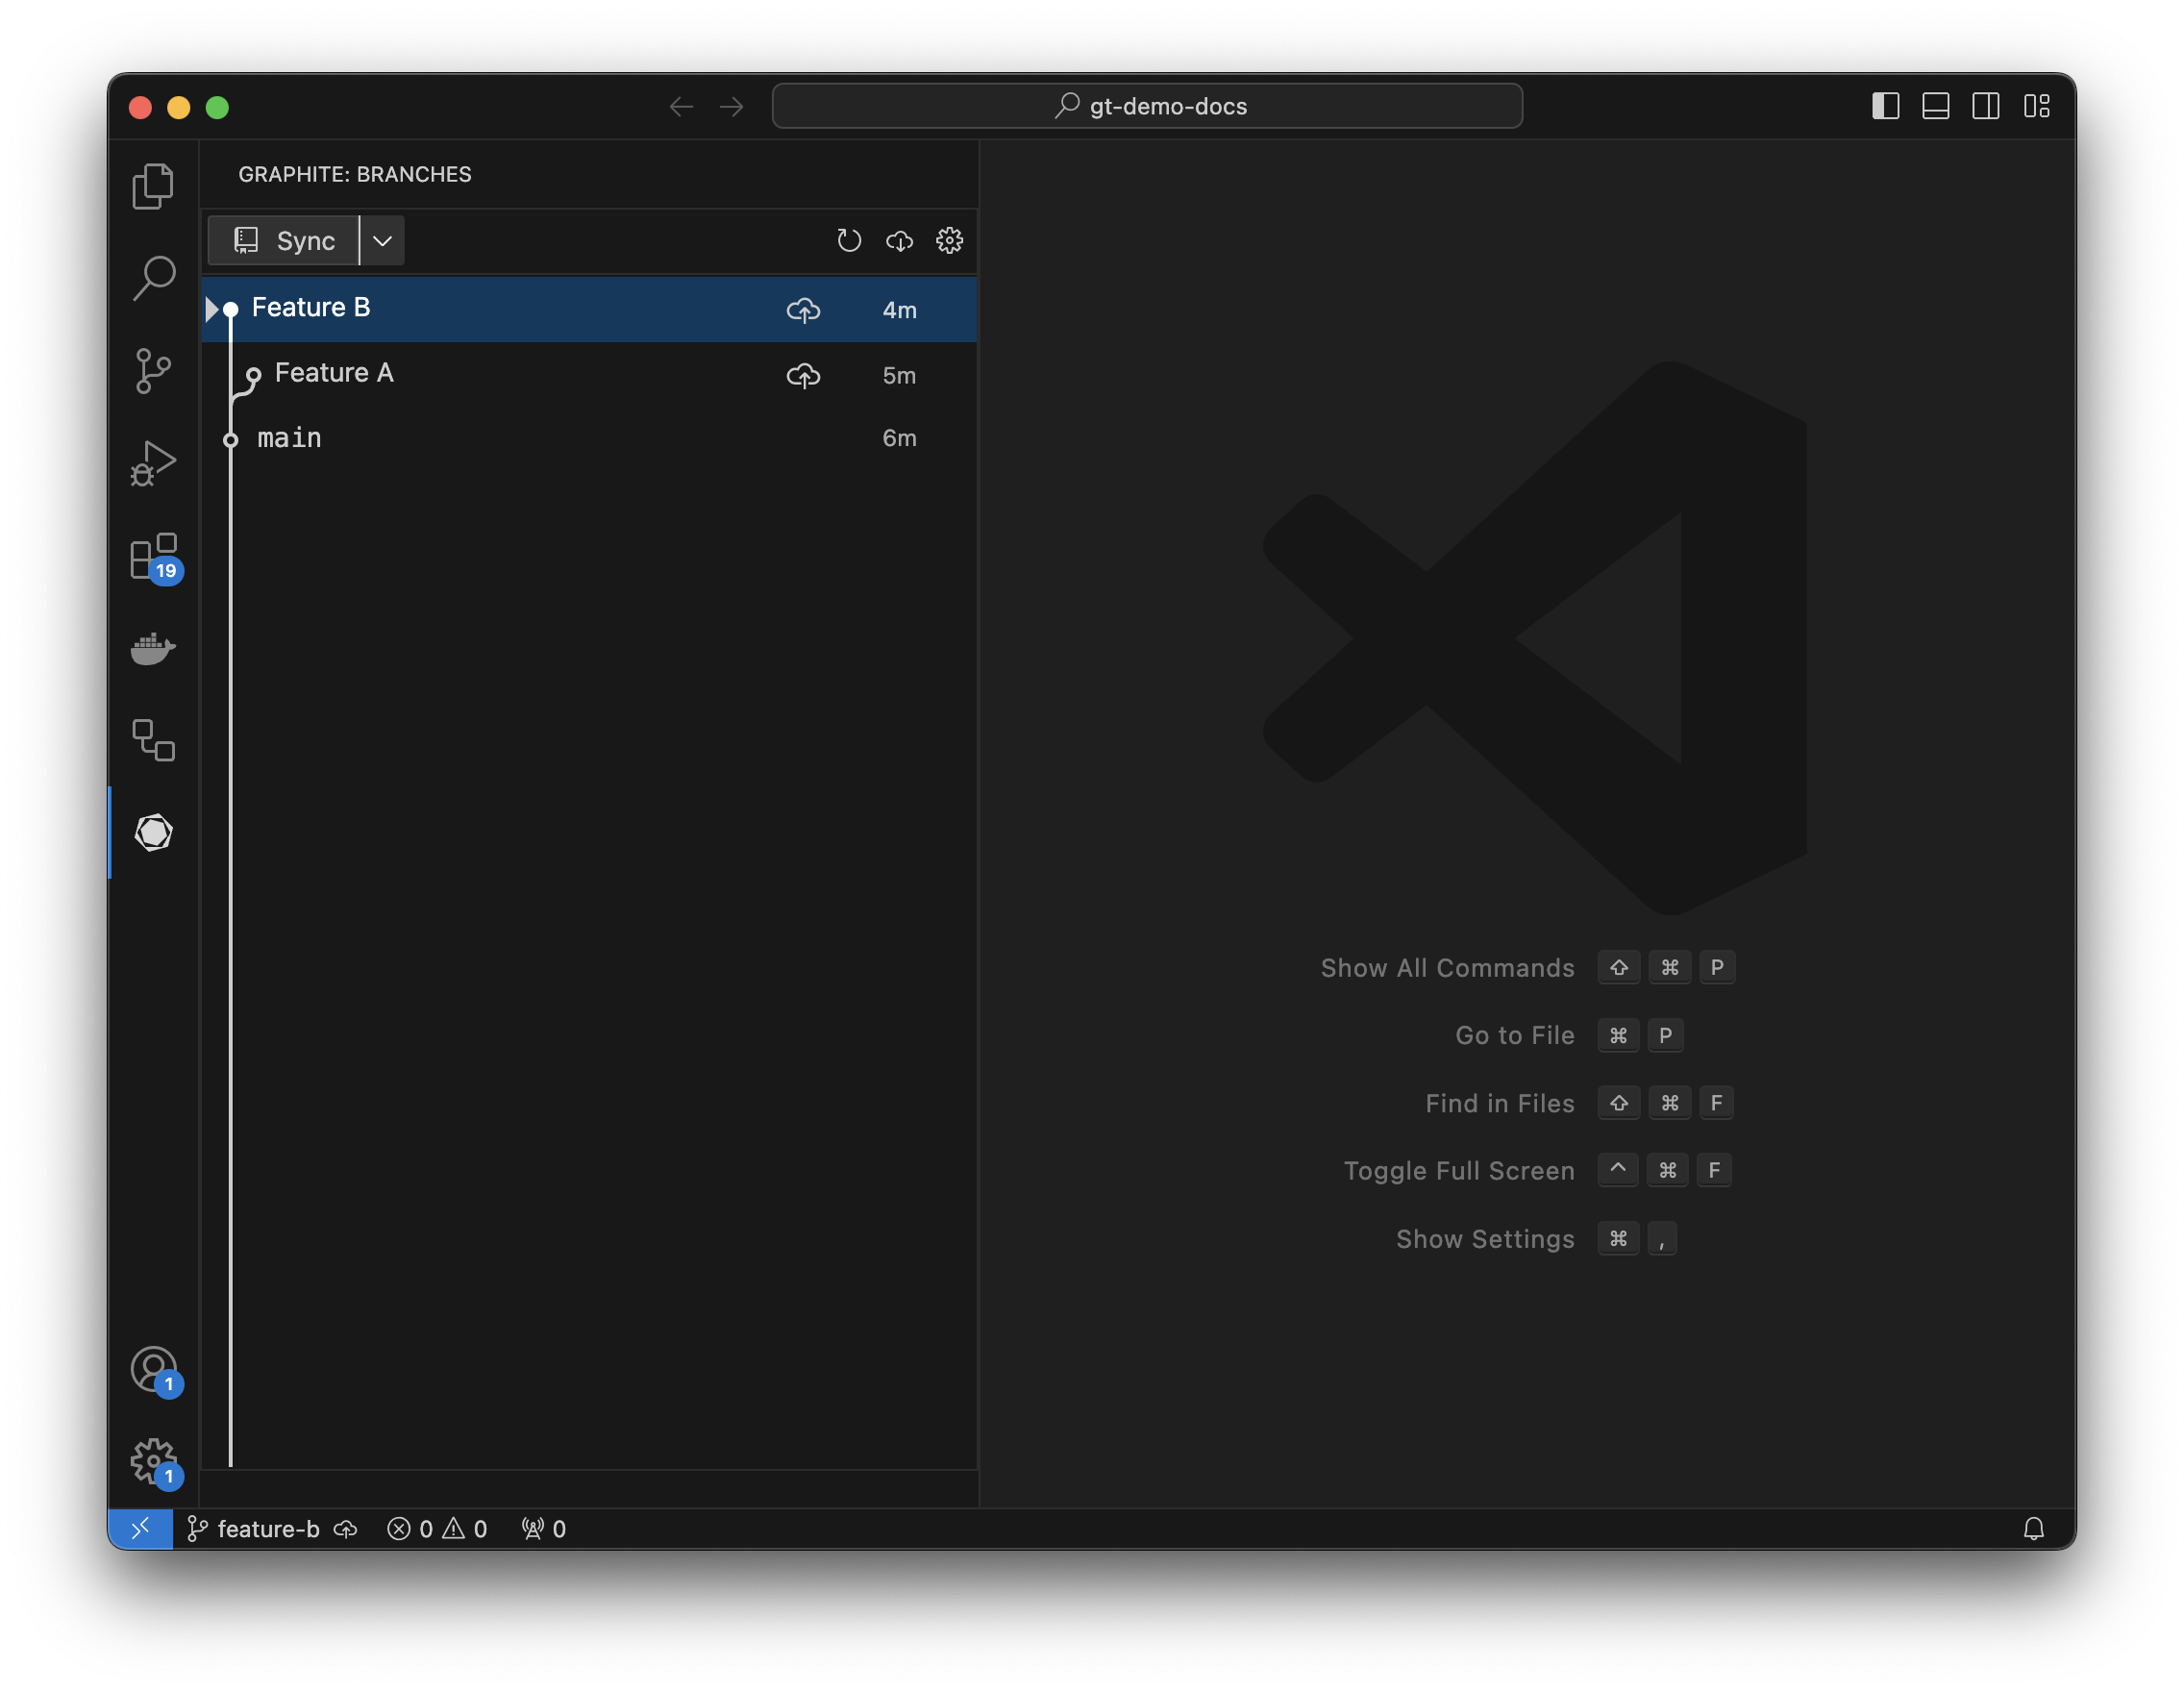
Once you configure Graphite, you’ll see all of the branches in your repository as a tree: for example, in the below example, main has two directly descendent child branches (“Feature A” and “Feature B”).
When you click the Graphite icon in the left rail, you’ll be asked to configure Graphite if you never have before. Follow the prompts in the extension to set it up.
Once you configure Graphite, you’ll see all of the branches in your repository as a tree: for example, in the below example, main has two directly descendent child branches (“Feature A” and “Feature B”).
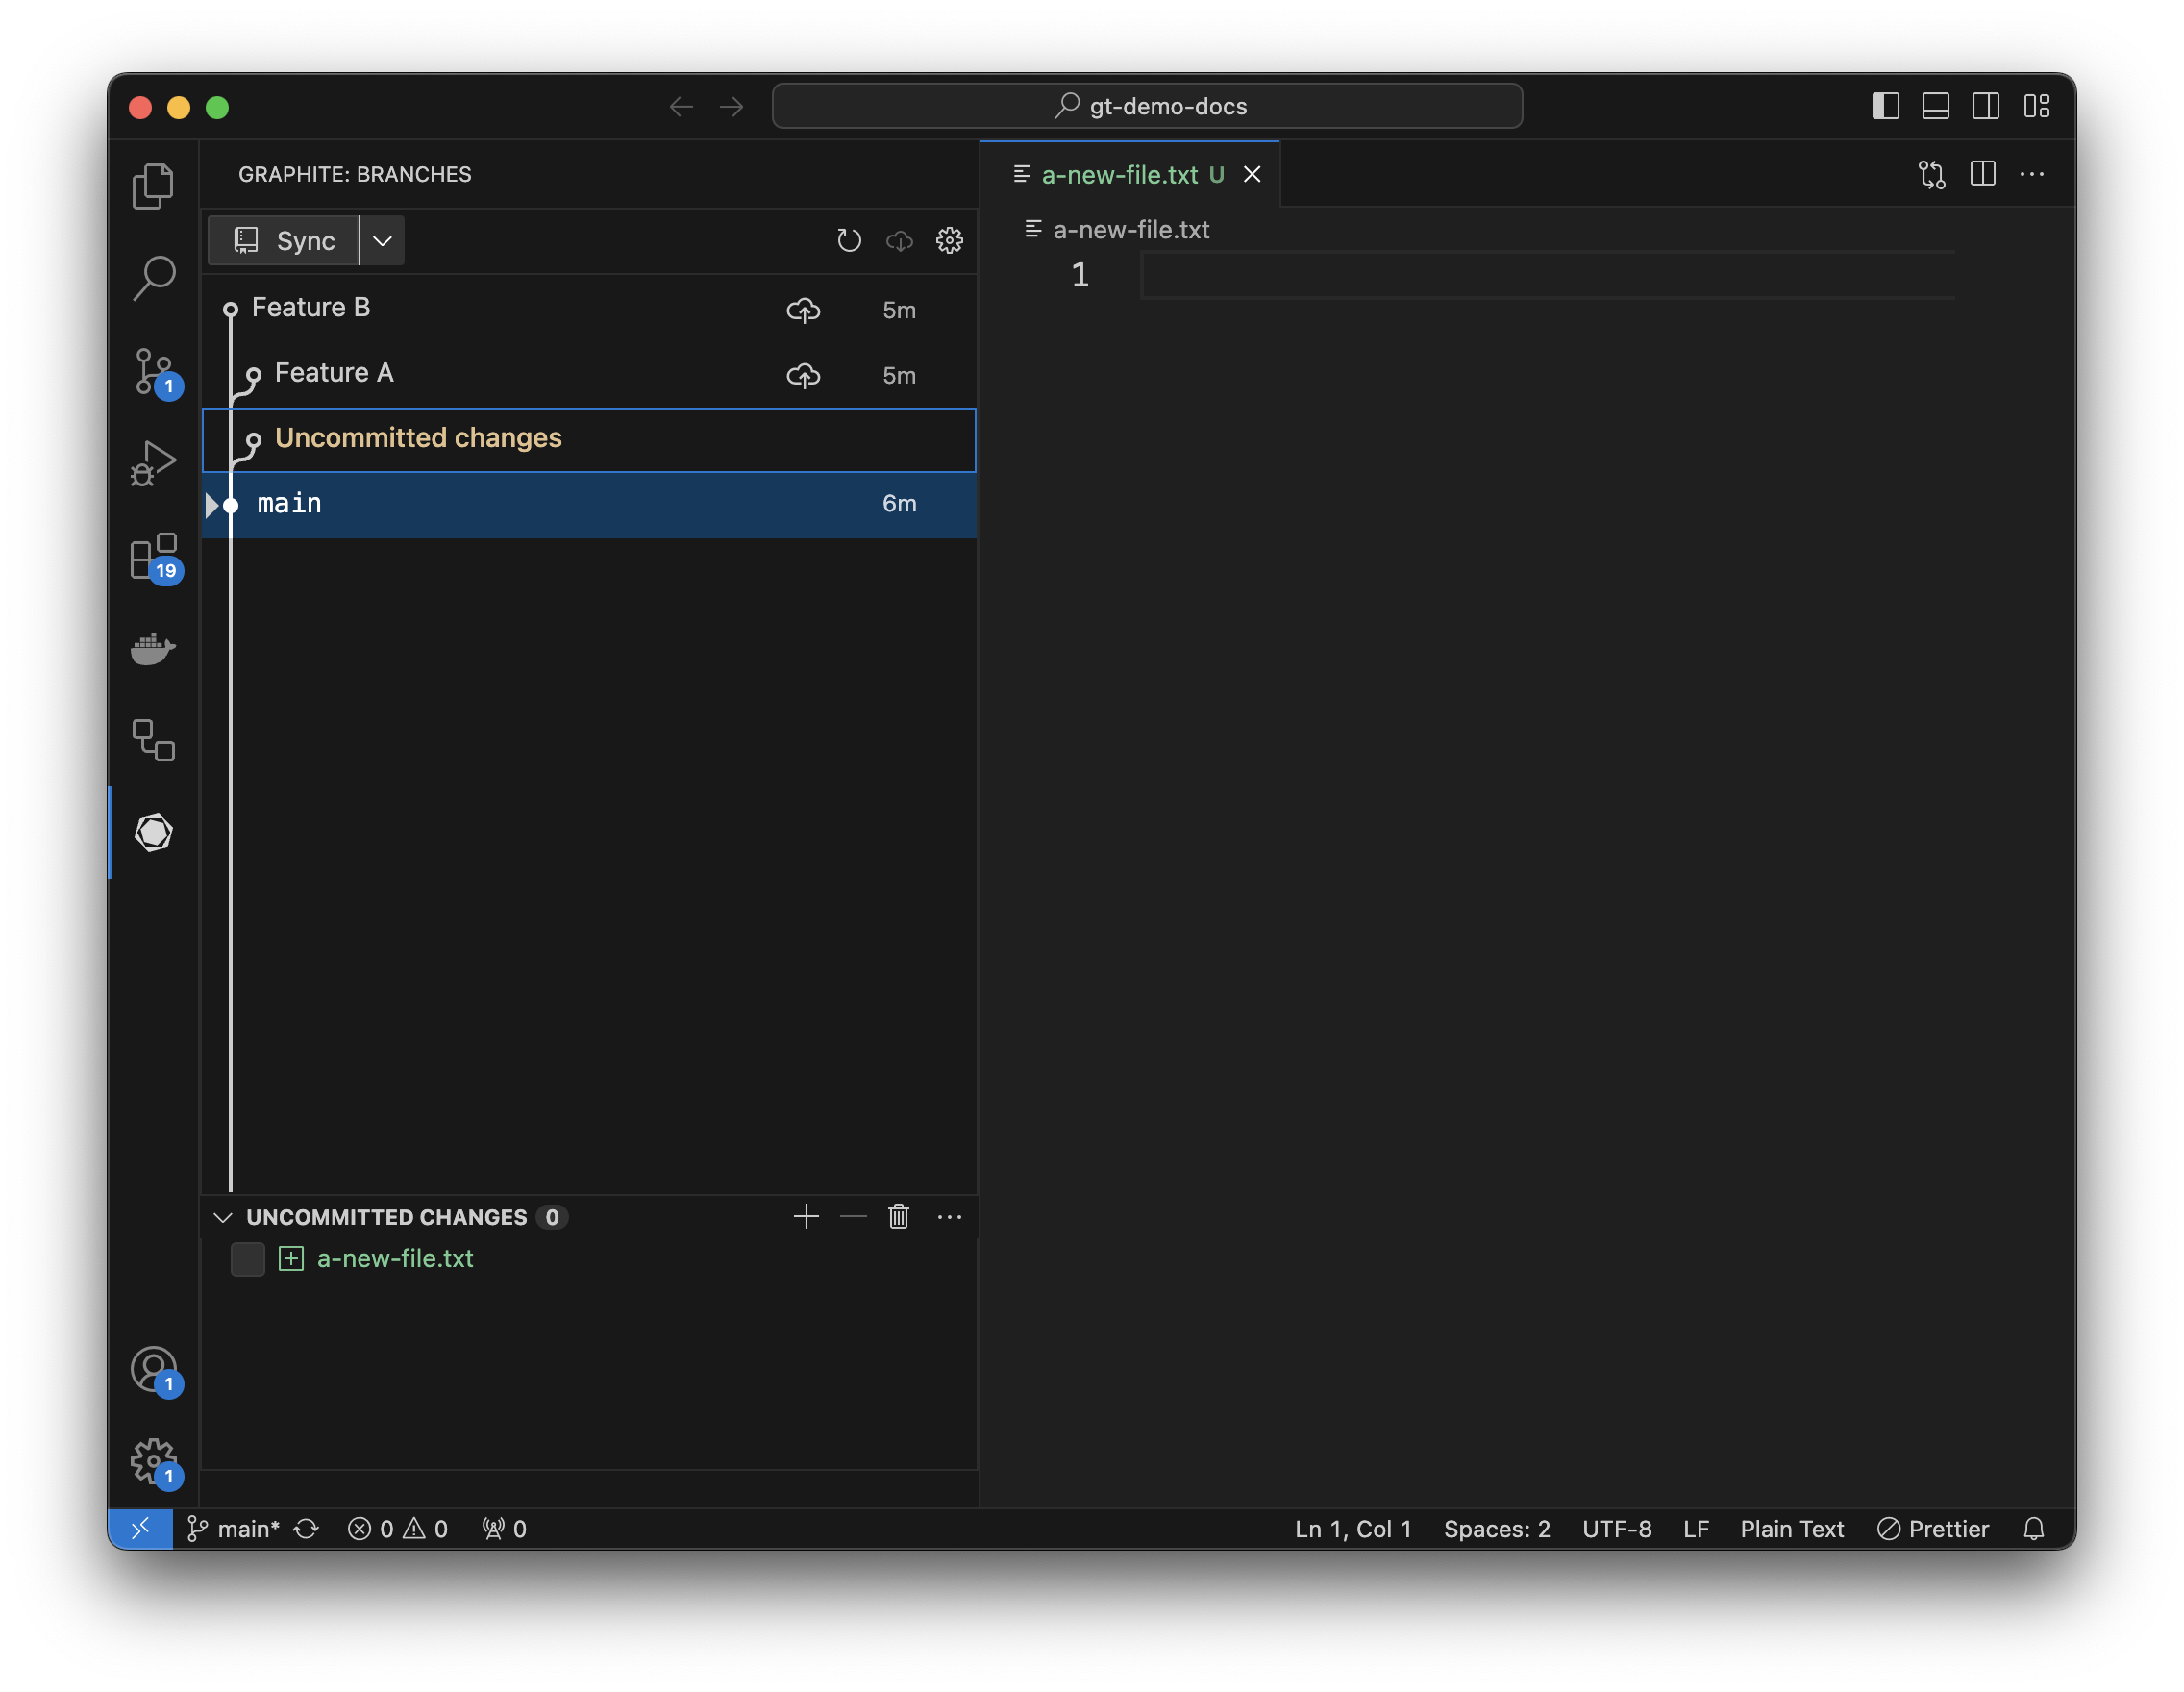
 Make sure you do not have uncommitted changes in your repository (these will show up as a yellow “uncommitted changes” branch in the Graphite extension). If you do have uncommitted changes, either commit them to a branch or delete them using whatever tools you usually use to work with Git repos before continuing.
Checkout main
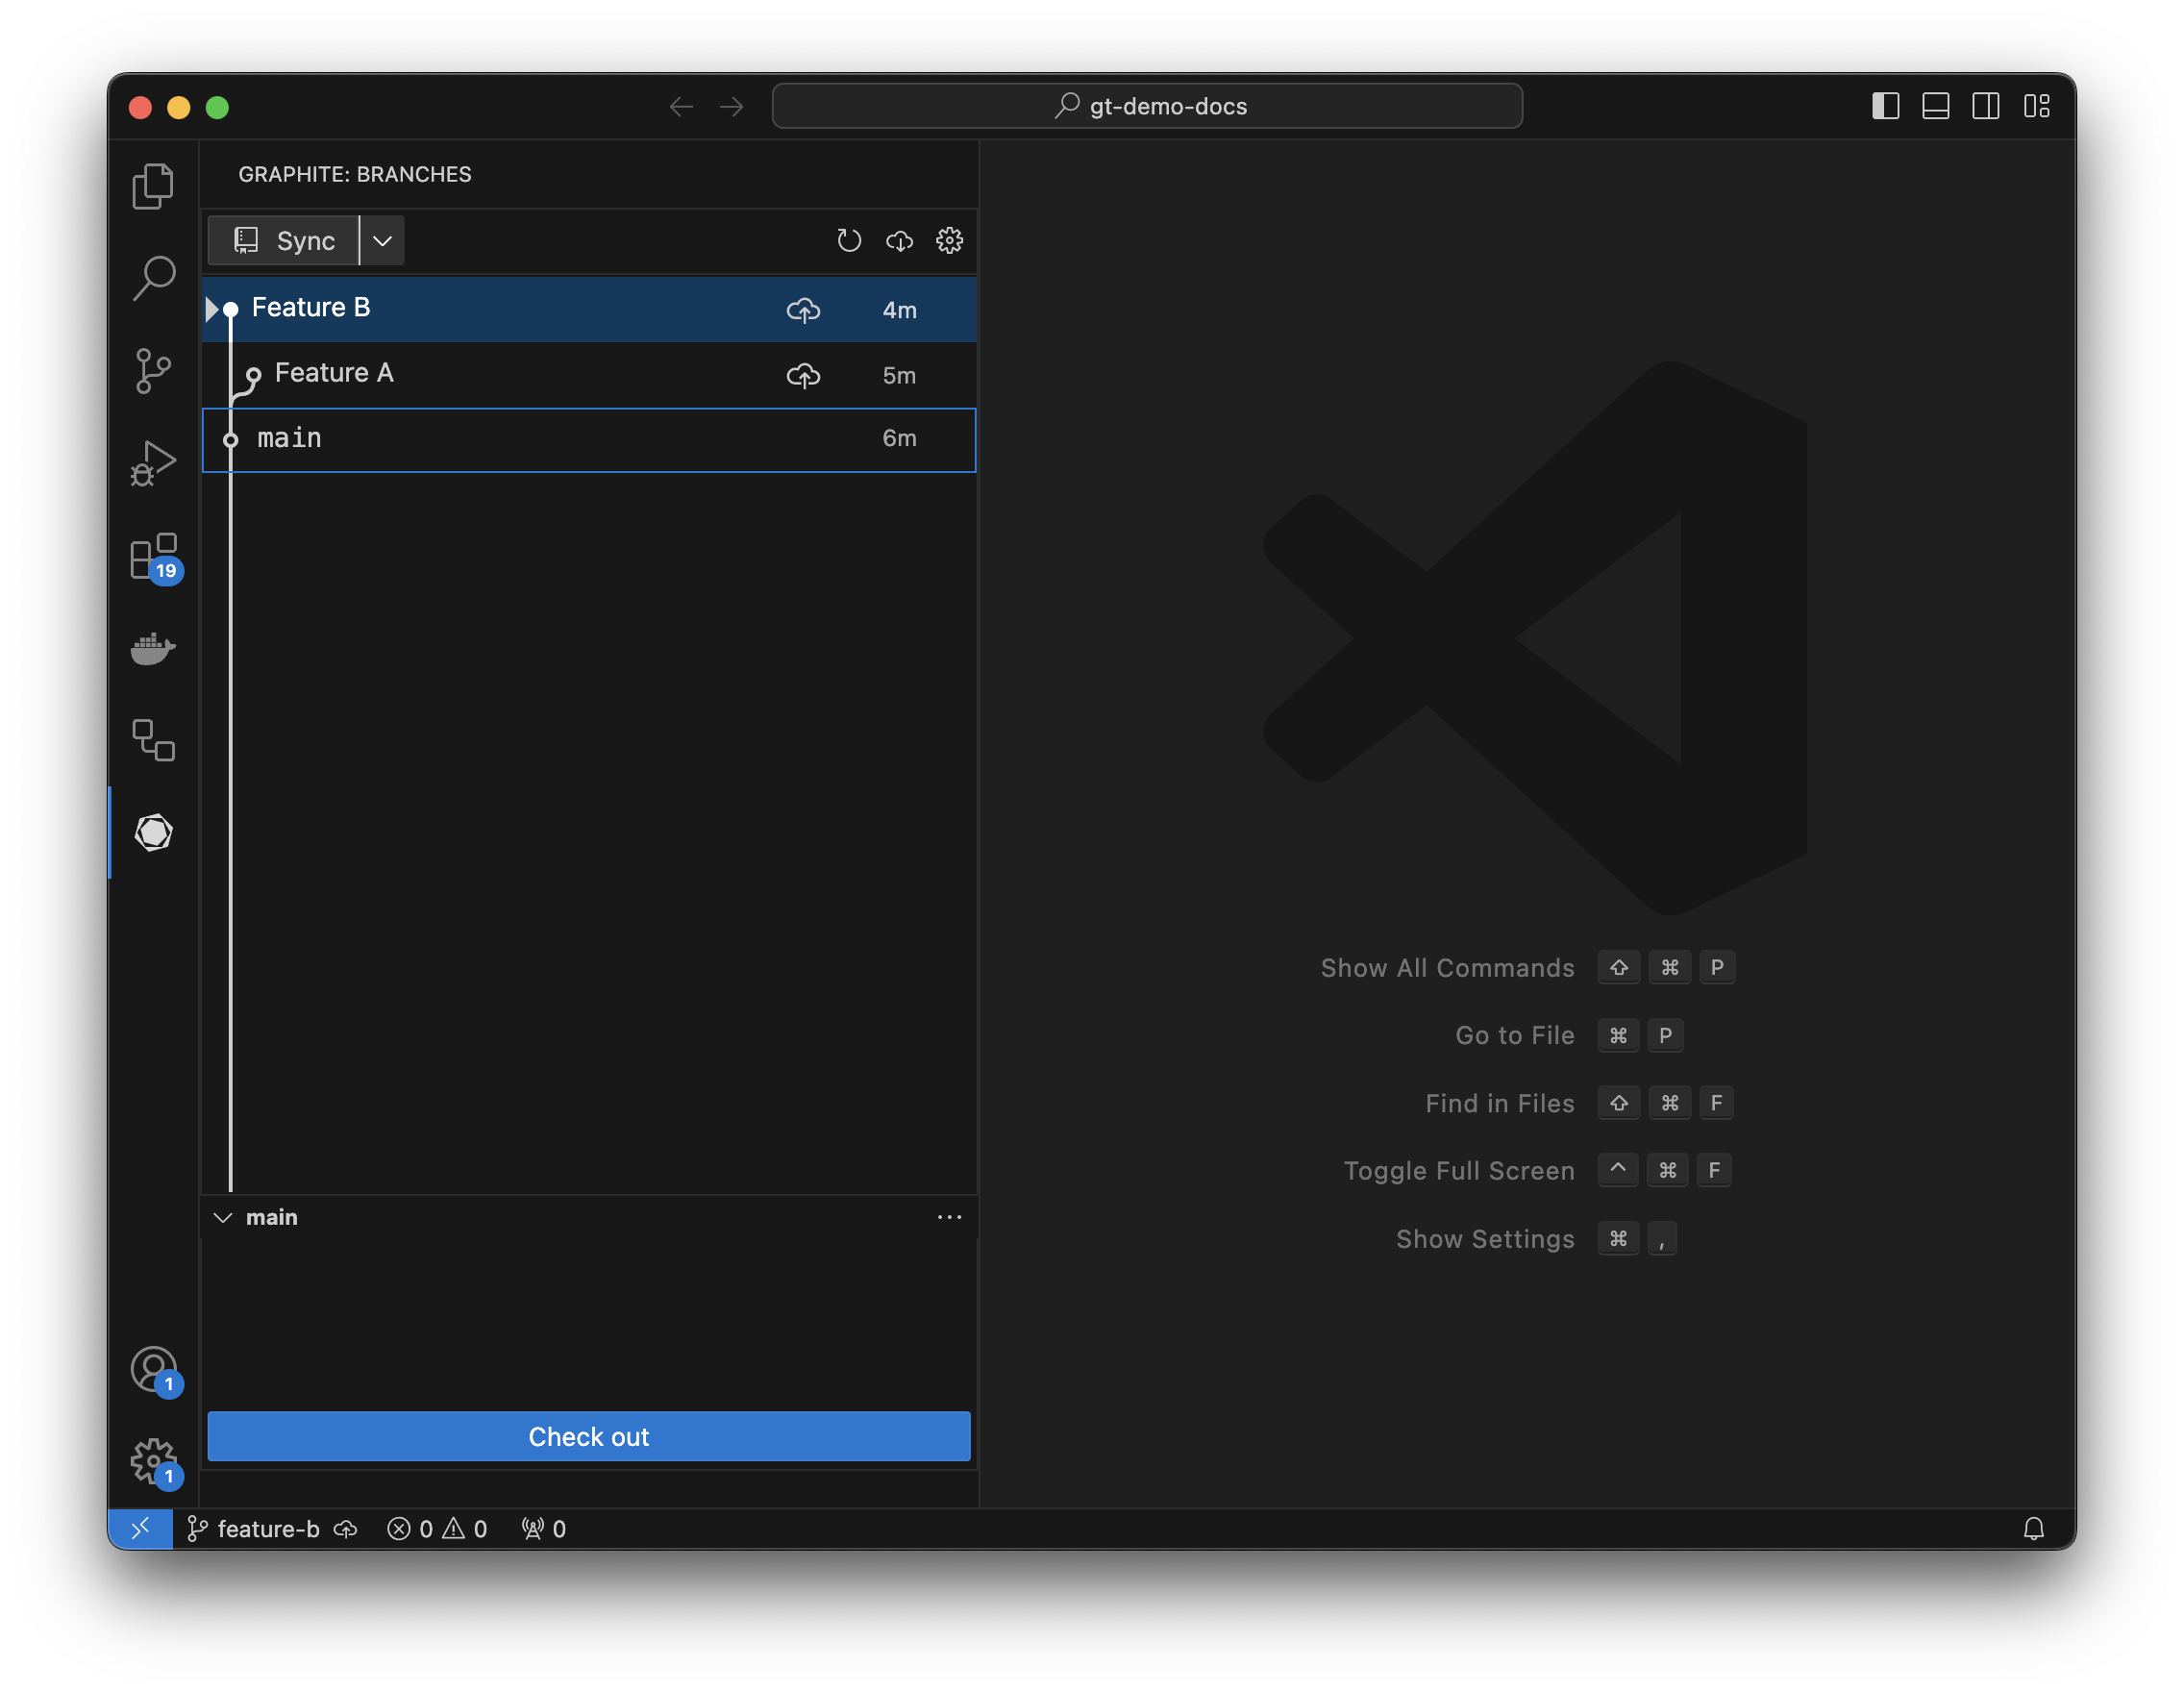
The VS Code extension will show the branch you currently have checked out with a triangle next to the branch name. If you have a branch other than your trunk branch (usually named main or master) checked out, click on trunk and press checkout to change the branch you have.
Make changes
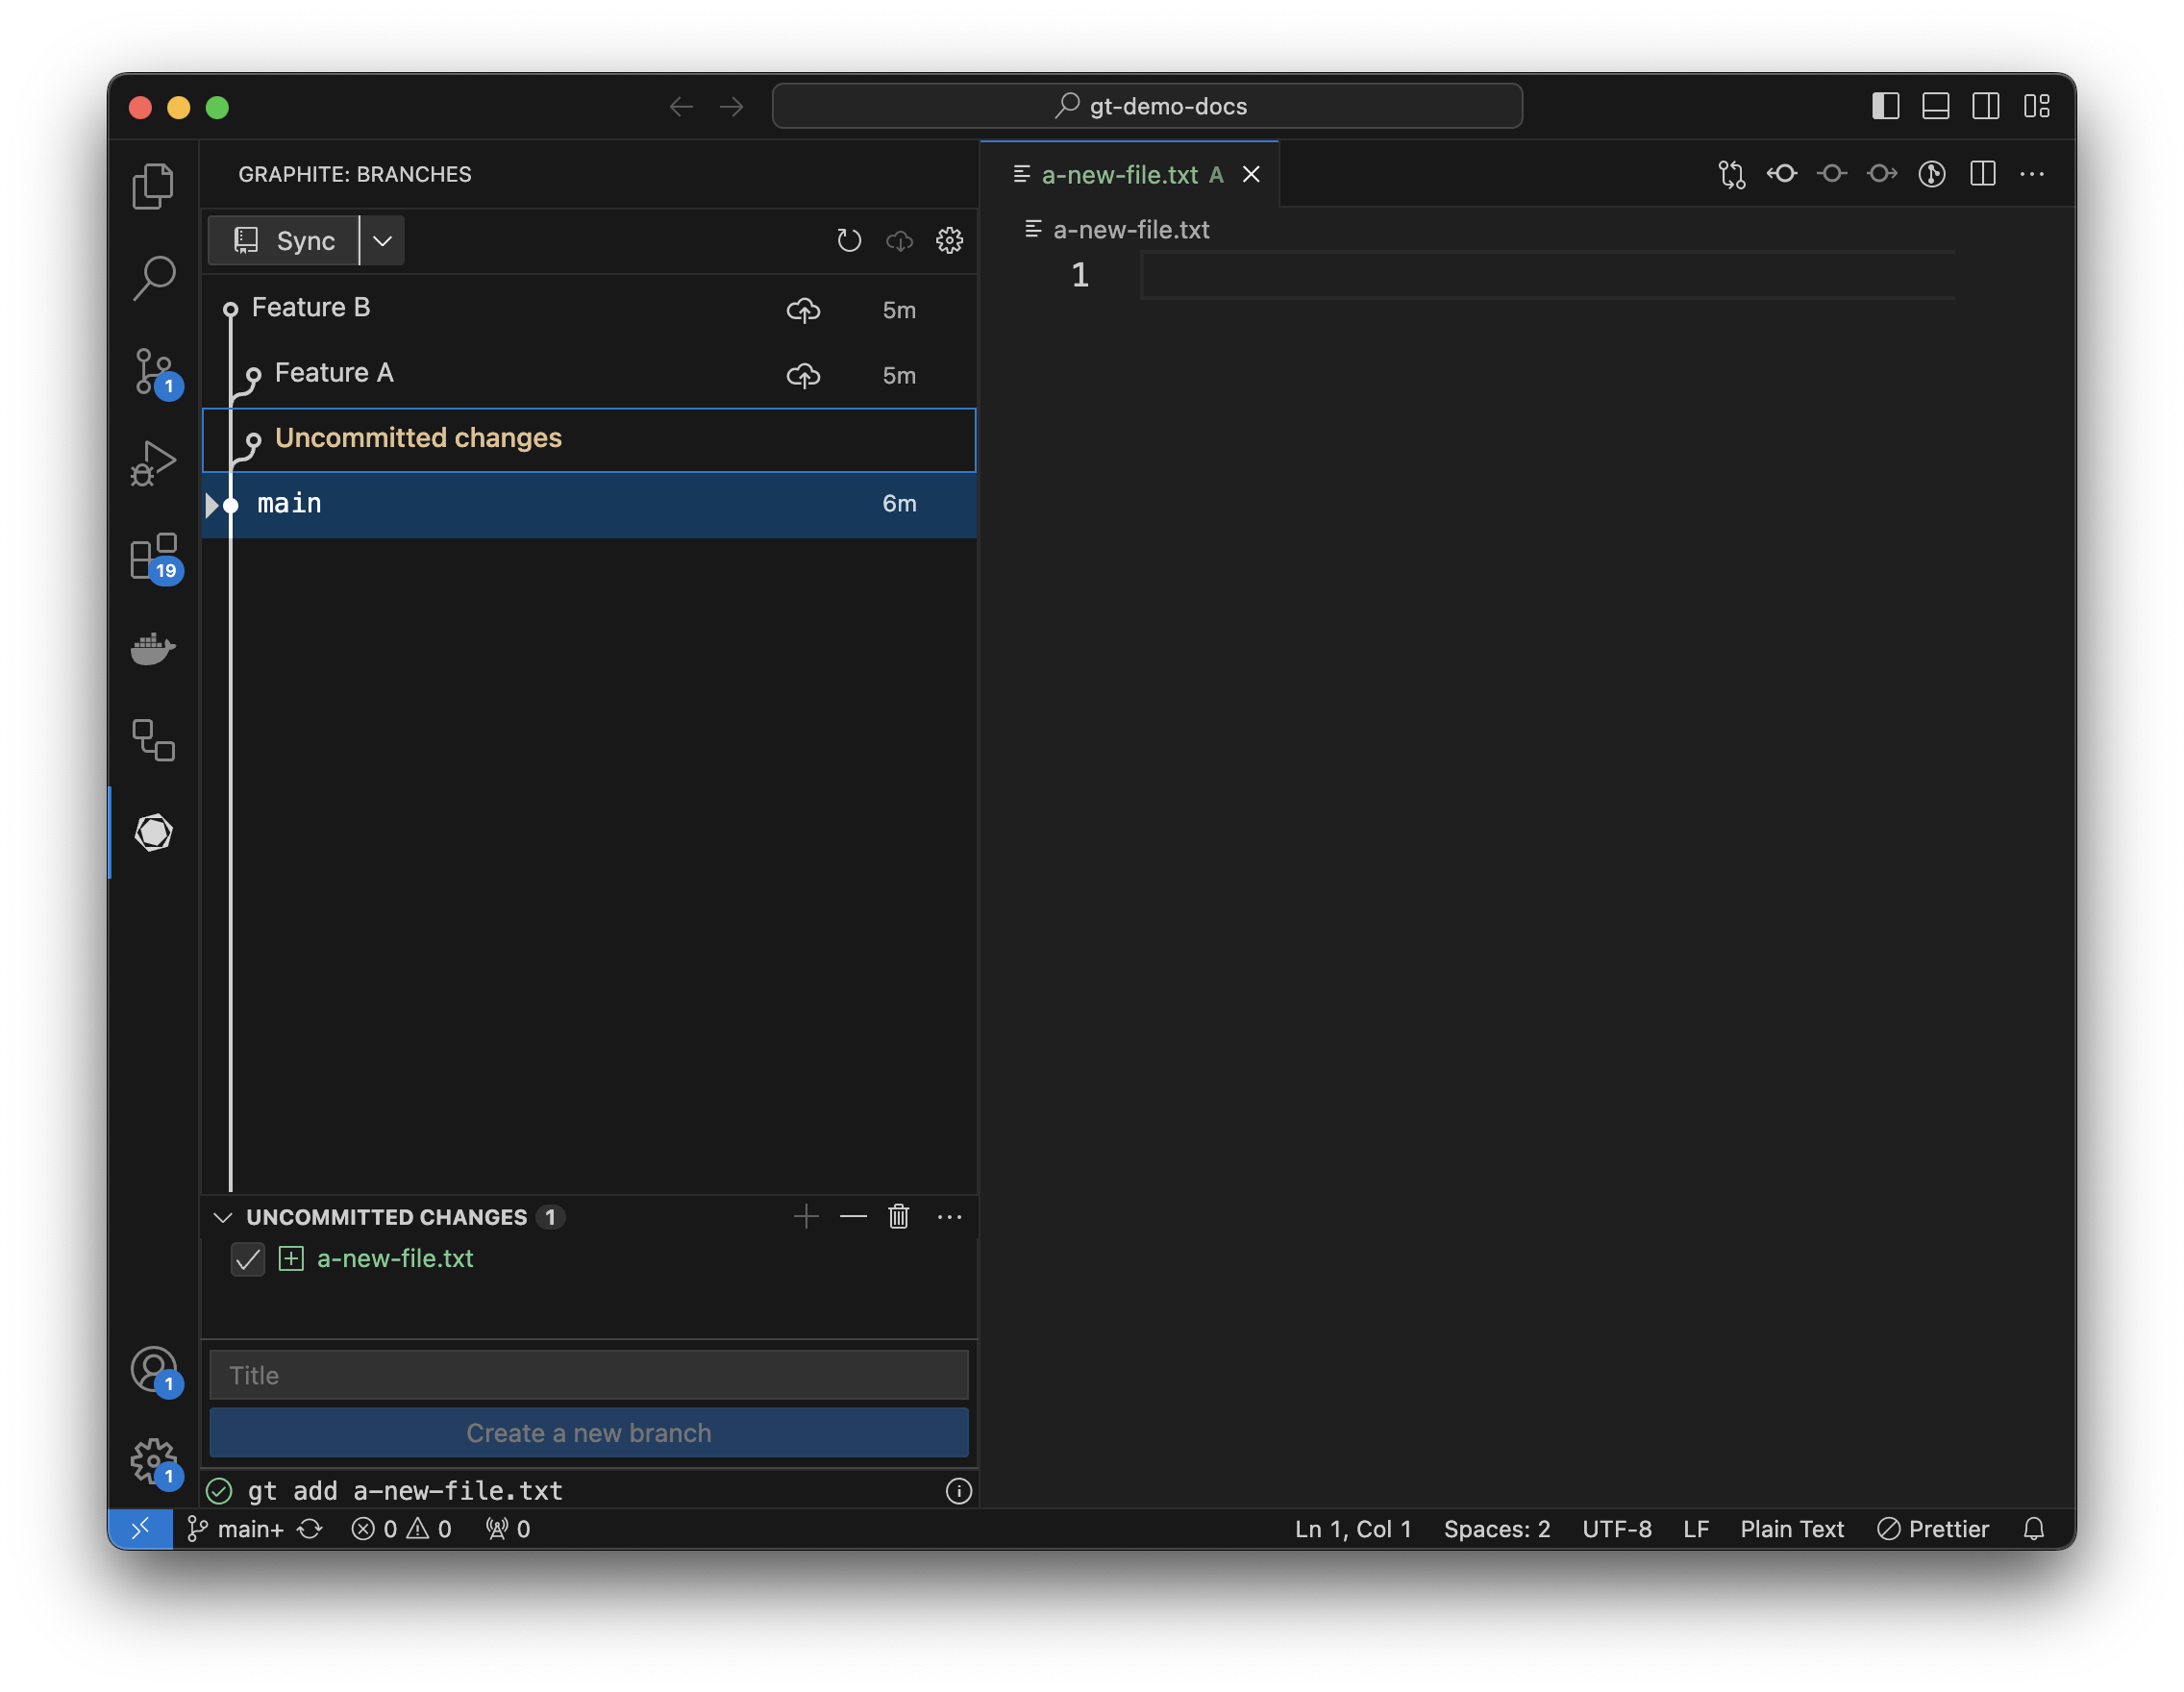
Make changes to your repository, either by adding a file or editing an existing file. That file should now show up under “uncommitted changes” in the extension.
Stage your changes
Select uncommitted changes, and you’ll see all the changed files in your repository (files added, files modified, and files deleted). Clicking the checkbox next to a file allows you to stage it in git (the equivalent of running git add).
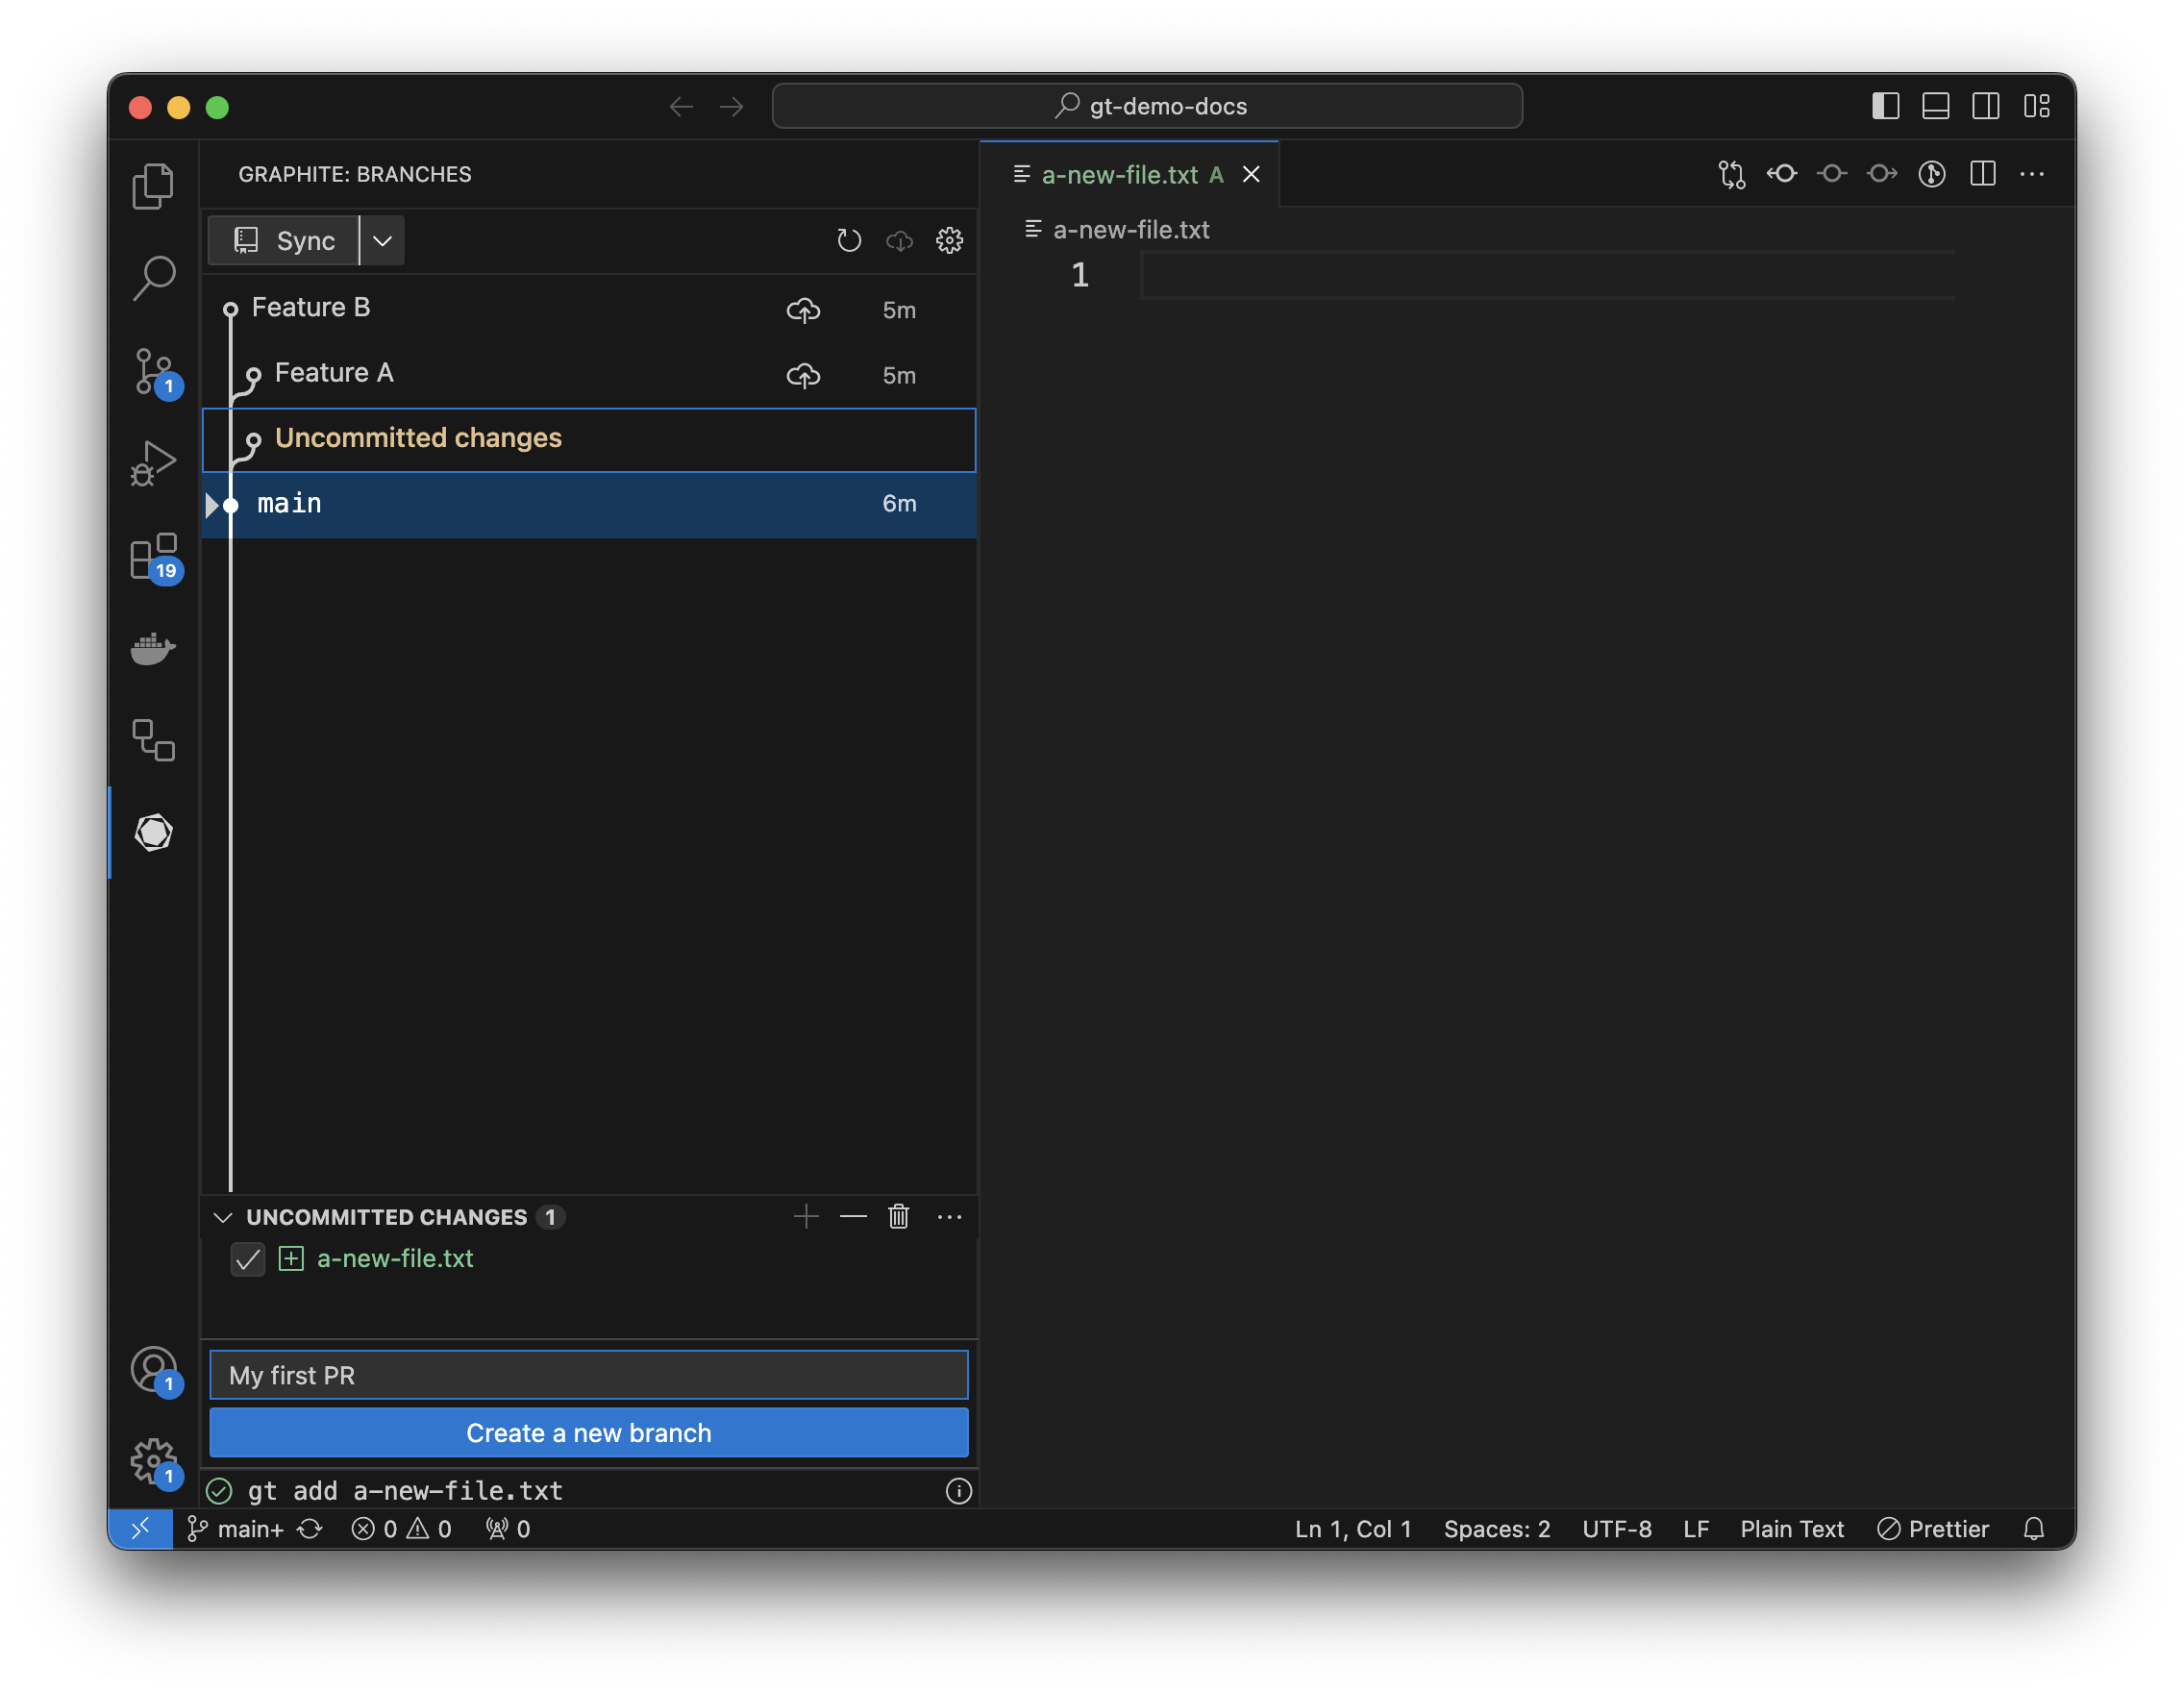
Create a branch
Once you’ve staged changes, you can create a new branch by entering a commit title and pressing create branch.
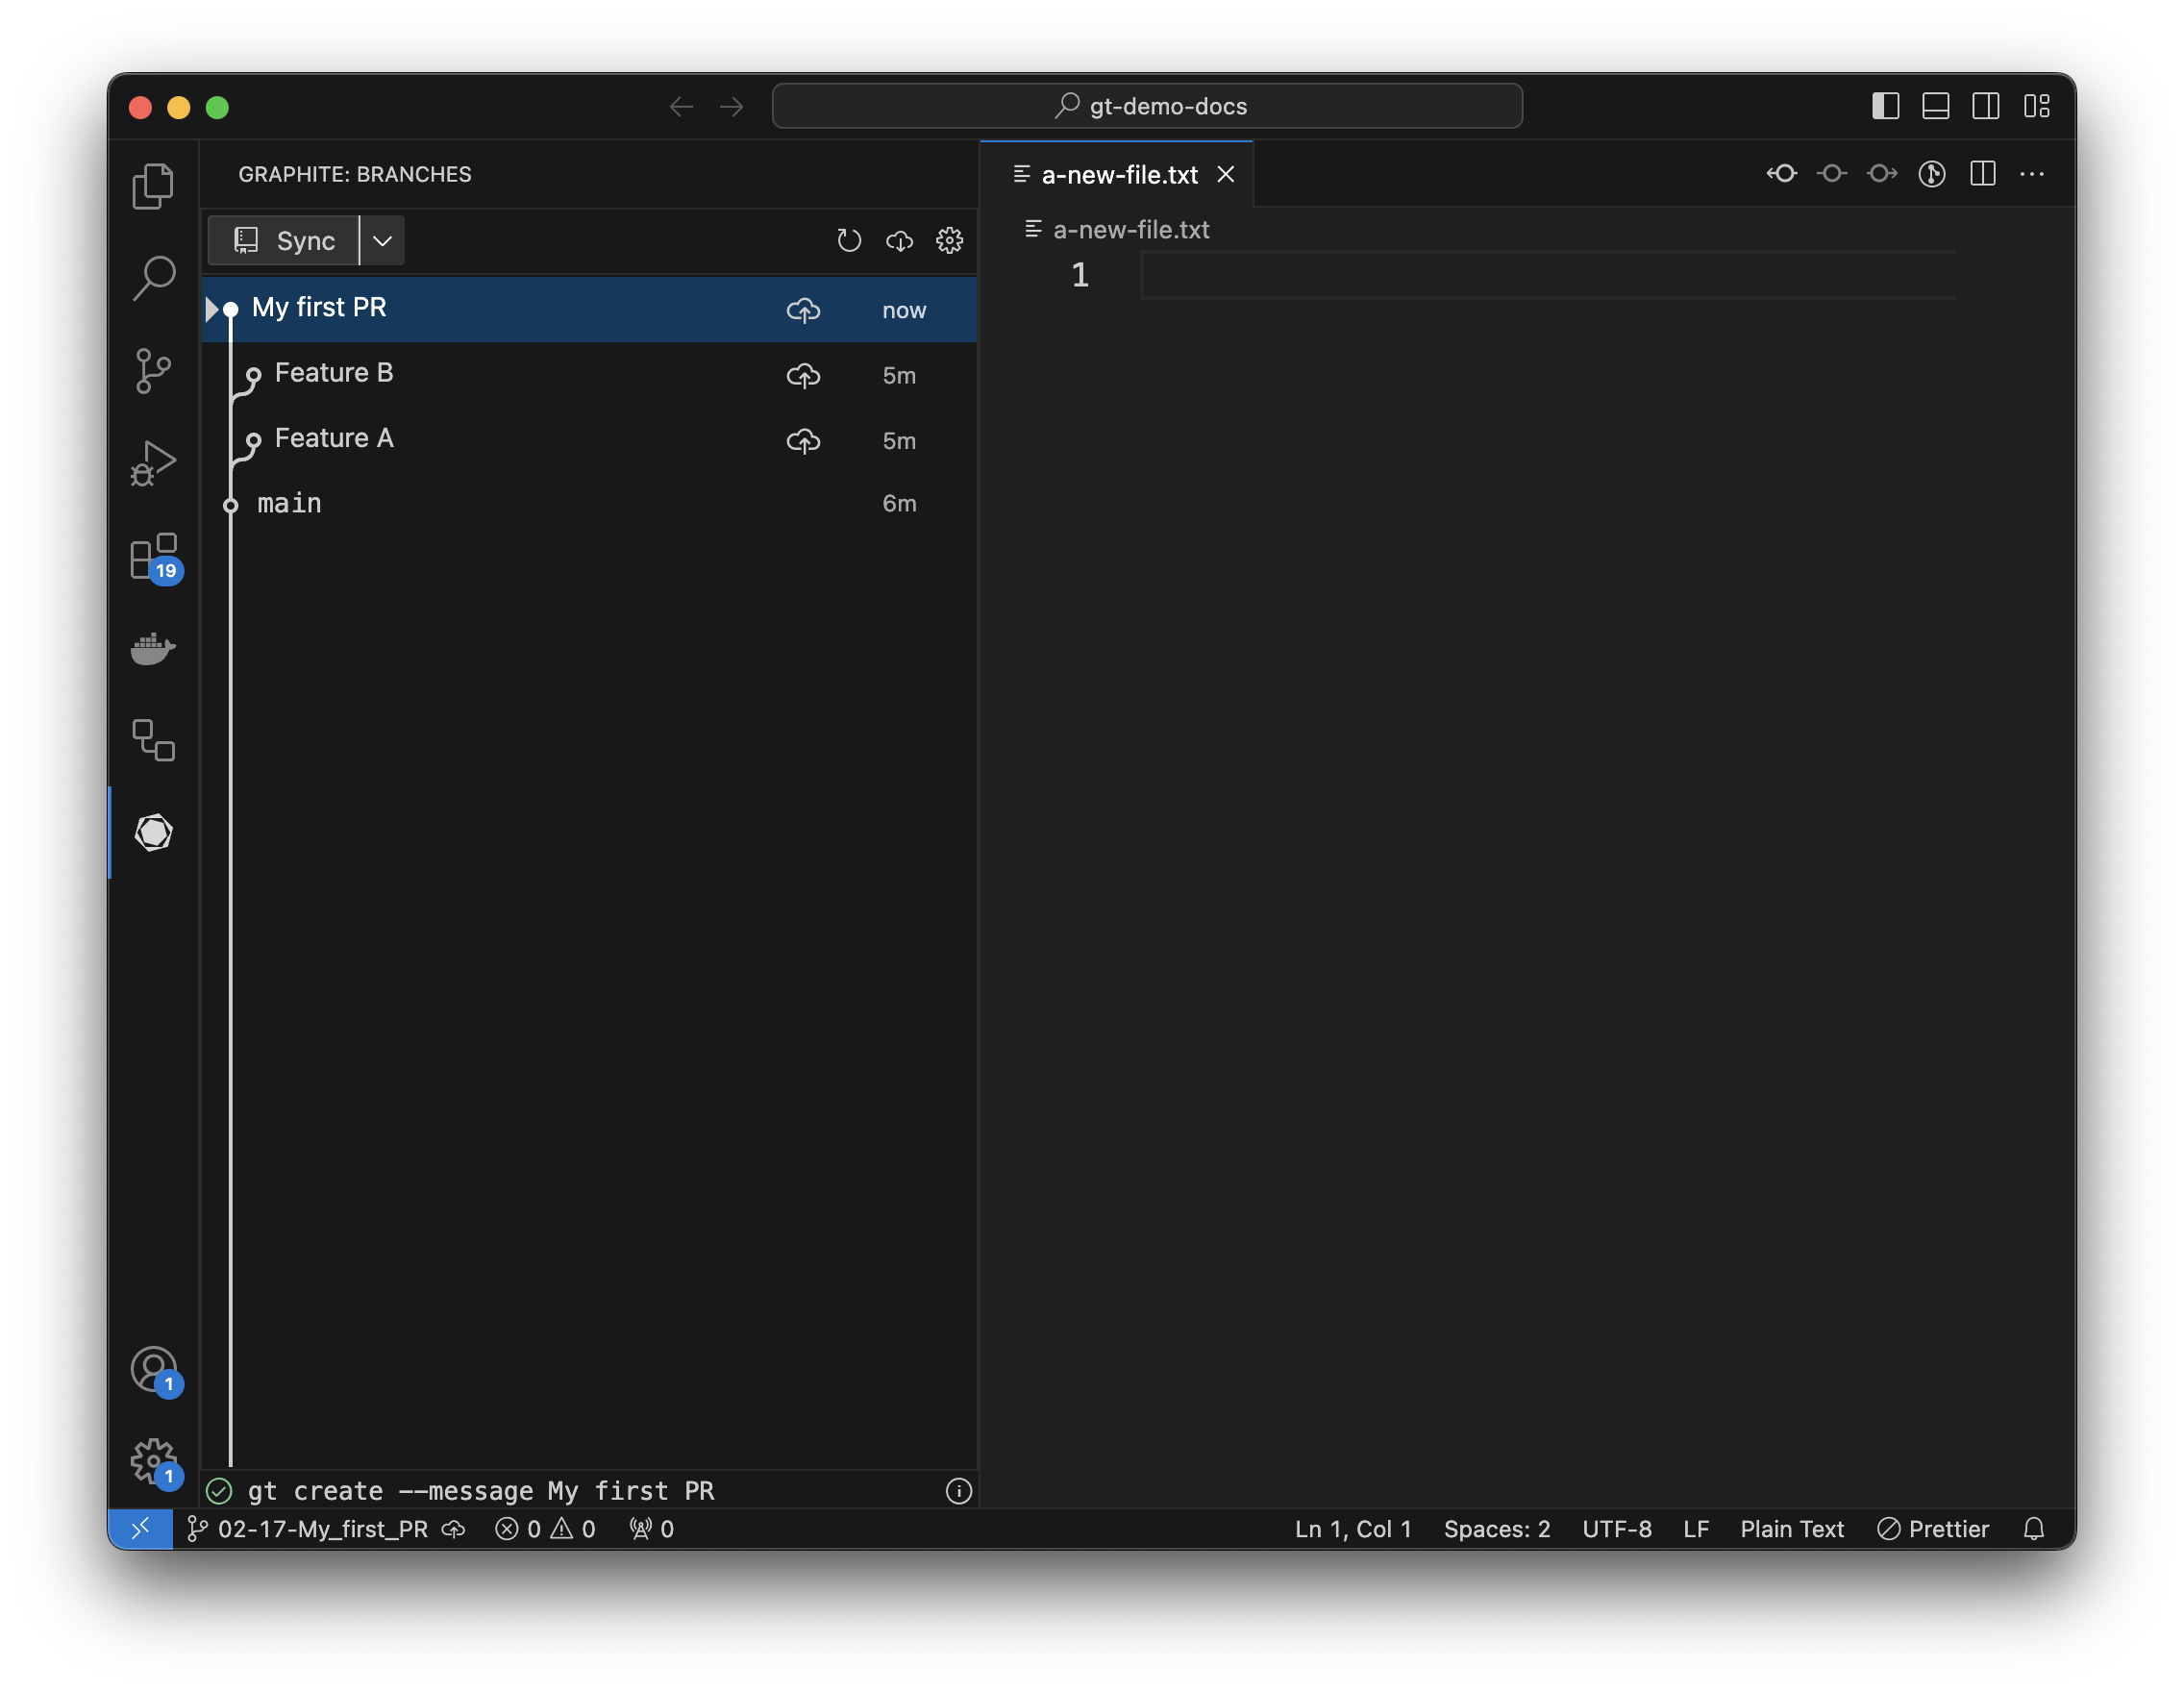
 Your new branch should now show up in the tree as checked out:
Submit your branch
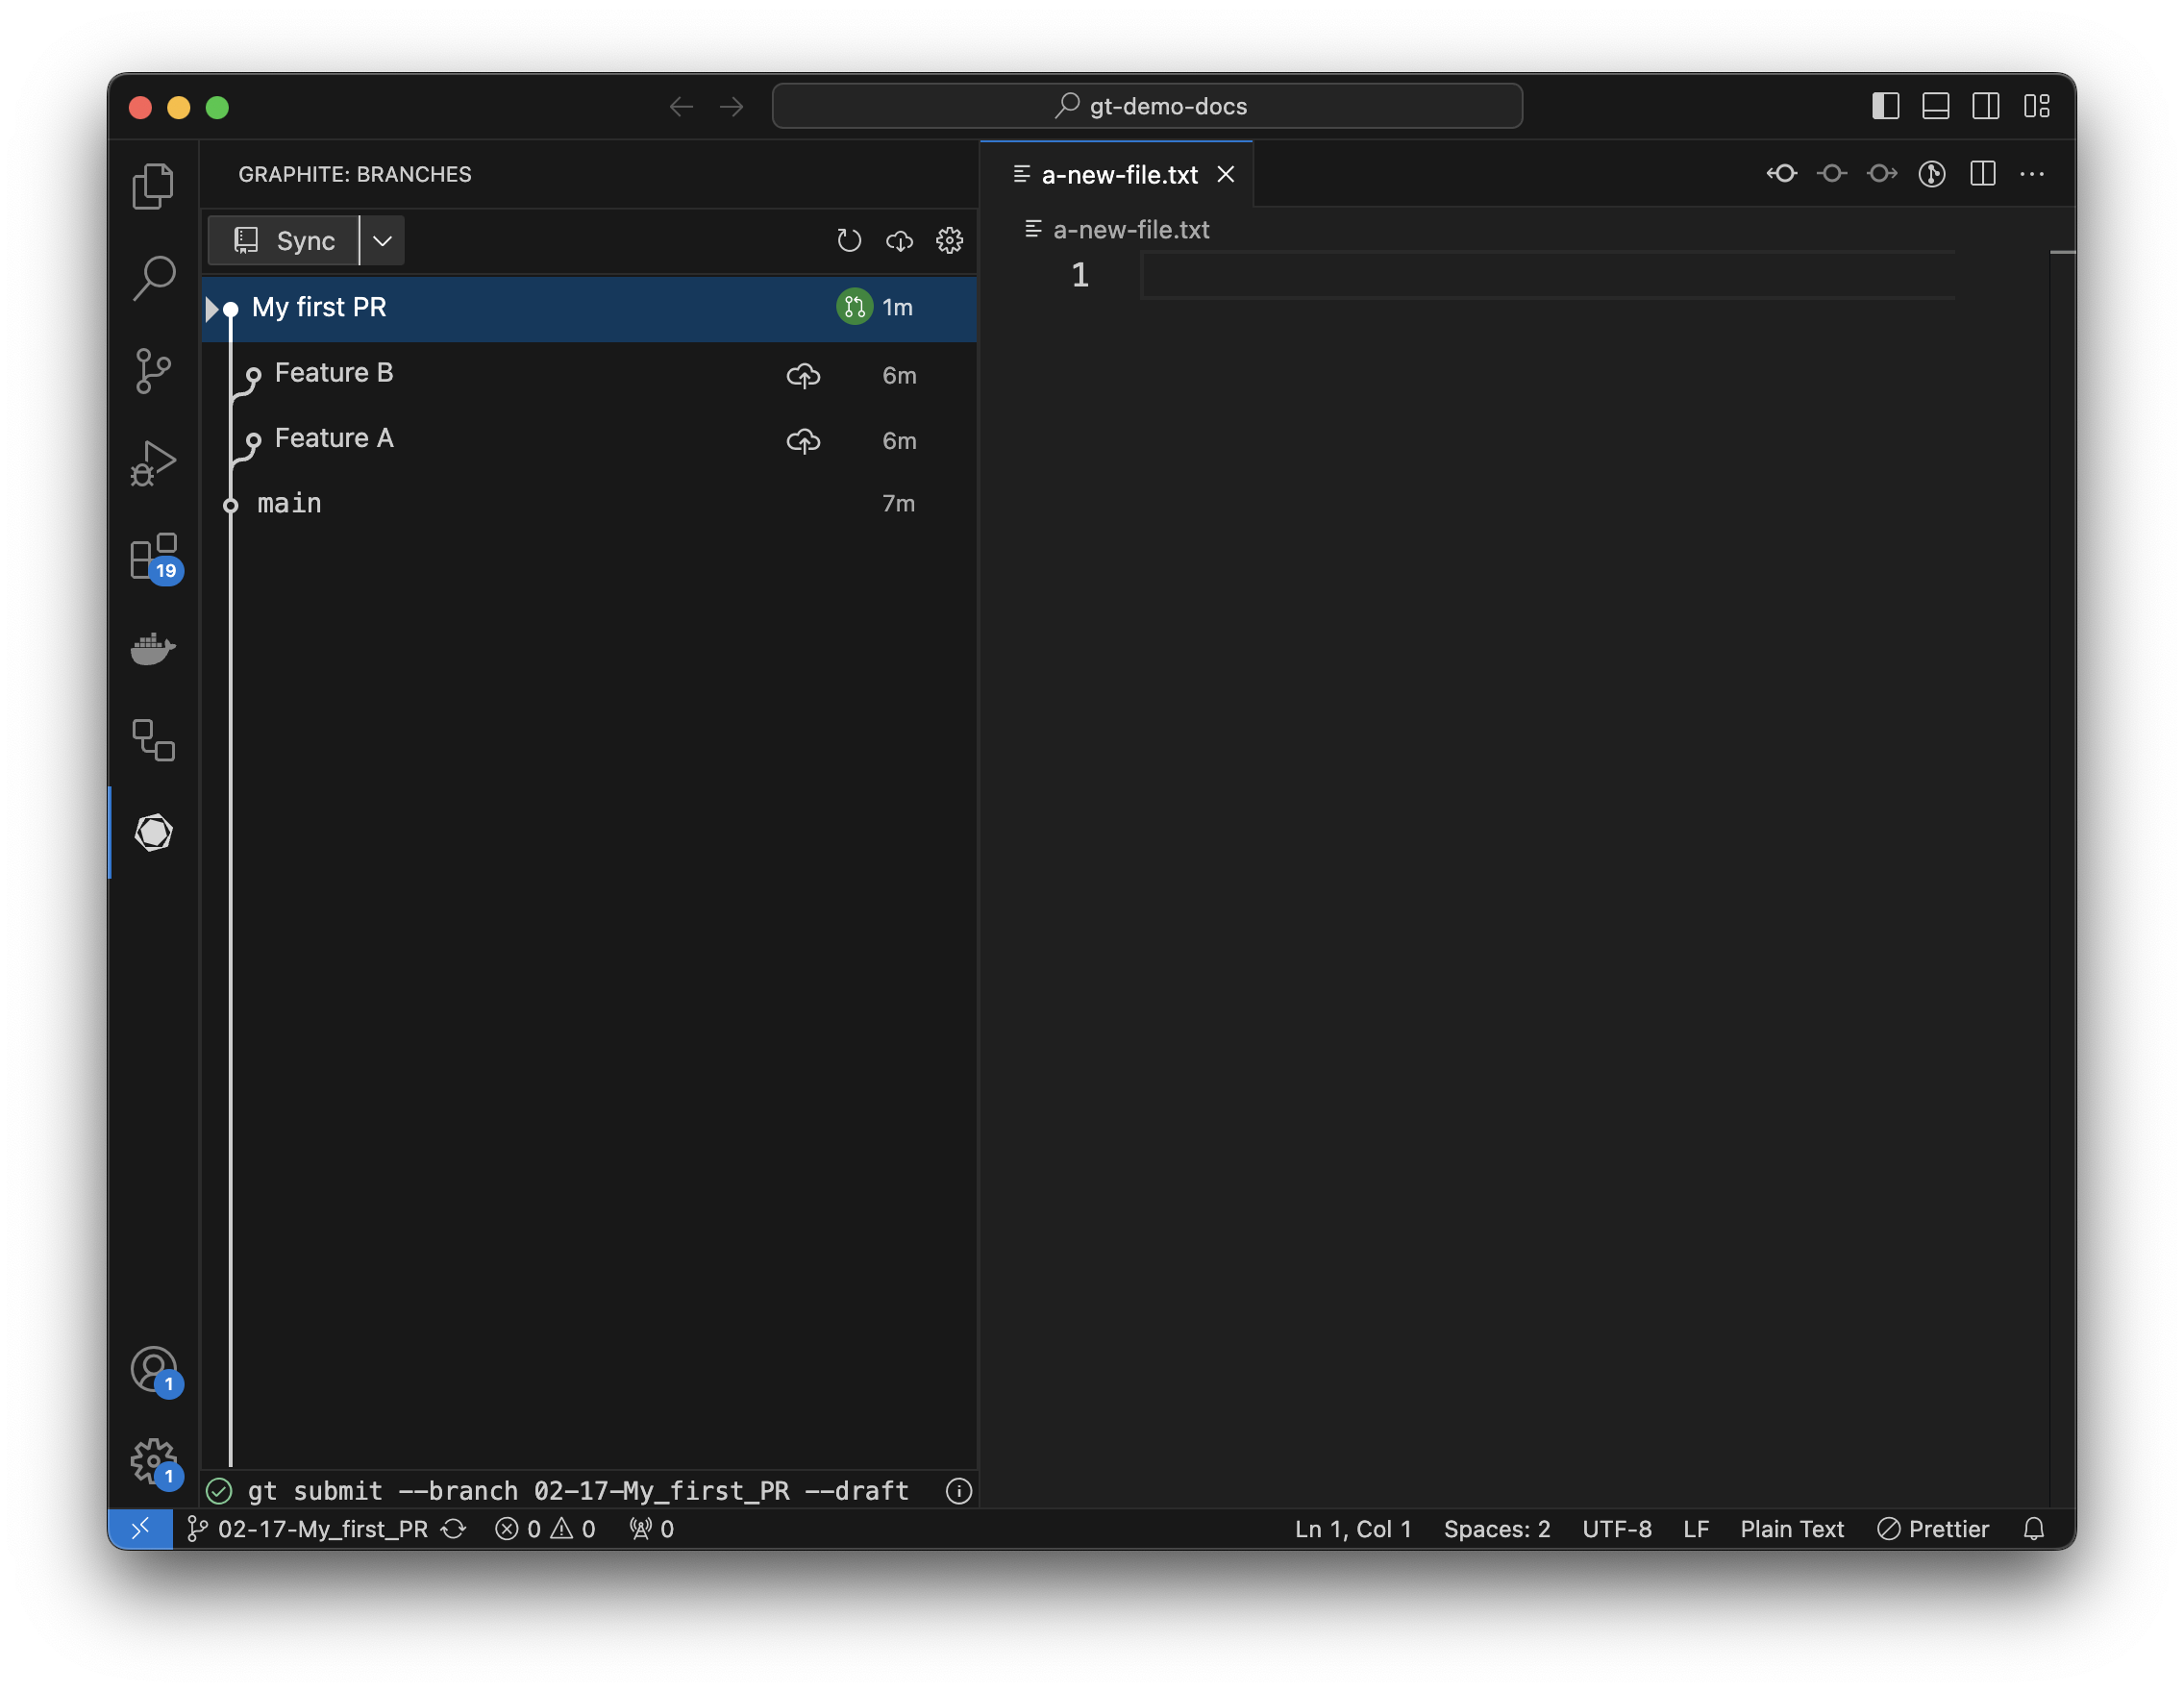
Assuming your repository is connected to a remote, you should see a “Sync” button in the top left of the extension pane and an upload button next to any branches that don’t yet have a PR opened for them.
Click the upload button next to your first PR to open a draft PR. After opening the PR, there will be a circle next to the branch showing the PR’s status (in this case it’s open).
 That’s it - you just created your first pull request using the Graphite VS Code extension!